Pumpkin carving is a popular Halloween tradition that allows people of all ages to showcase their creativity. Whether you’re a beginner or an experienced carver, these pumpkin carving tips and ideas will help you create the perfect Halloween decoration. From choosing the right pumpkin to finalizing your design, we’ve got you covered step-by-step.
How to Carve a Pumpkin?
Choosing the Perfect Pumpkin
When it comes to pumpkin carving, selecting the right pumpkin is crucial. Look for a pumpkin that has a sturdy stem, firm skin without soft spots, and a flat bottom to prevent it from rolling.
To make the carving process easier, you’ll need the right tools. Here are some essential pumpkin carving tools:
| Tools | Description |
|---|---|
| Sharp Serrated Knife | A sharp serrated knife will allow you to make precise cuts and carve intricate designs. |
| Large Spoon or Ice Cream Scoop | A large spoon or ice cream scoop is perfect for scooping out the seeds and pulp from the pumpkin. |
| Marker Pen | A marker pen will help you draw your design on the pumpkin before carving. |
With these tools in hand, you’ll be ready to create your masterpiece. Before we move on to the next section, take a moment to familiarize yourself with these pumpkin carving essentials.

Preparing the Pumpkin
Before you start carving, it’s important to prepare the pumpkin properly. Follow these easy pumpkin carving techniques to ensure a successful and enjoyable carving experience.
Cutting off the Crown
Begin by cutting off the crown of the pumpkin using a sharp serrated knife. Make sure to angle the knife inward toward the center of the pumpkin to create a secure lid. This will make it easier to place the lid back on once you’re finished carving.
Scooping out the Seeds and Pulp
Next, use a large spoon or ice cream scoop to remove the seeds and pulp from the pumpkin. Scoop out as much as you can, making sure to scrape the sides of the pumpkin clean. You can save the seeds for roasting and the flesh for delicious pumpkin recipes.
Using Pumpkin Carving Stencils or Drawing Freehand
To create the perfect design, you have two options. You can use pumpkin carving stencils for precise and intricate designs. Simply print out your desired stencil, tape it onto the pumpkin, and trace the design onto the pumpkin using a marker pen. Alternatively, you can let your creativity flow and draw a freehand outline directly on the pumpkin using a marker pen.

Now that your pumpkin is prepared, it’s time to move on to the next step: carving the design. Stay tuned for Section 4, where we’ll guide you through the process of bringing your pumpkin to life with your chosen design.
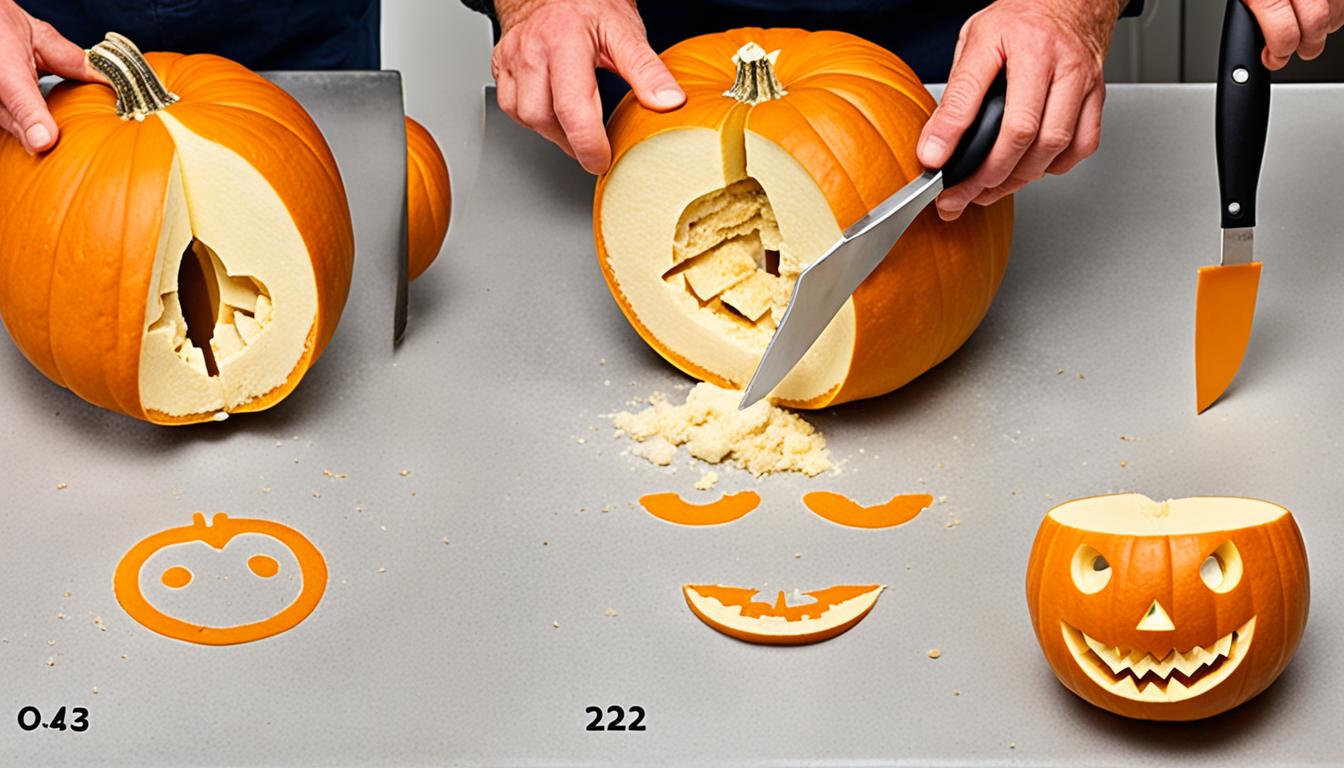
Carving the Design
Now comes the fun part – carving the design. Use a small serrated knife to cut out the eyes, nose, and mouth, following the outline you’ve drawn on the pumpkin. Remember to always cut away from yourself to avoid accidents. If you’re carving with kids, supervise them closely and consider using pumpkin carving kits for added safety. You can also get creative by carving the pumpkin from the bottom instead of the top, or using household objects like cookie cutters and a rubber mallet to add interesting shapes and patterns.

Tips for Carving a Pumpkin:
- Start with a clean and dry pumpkin. Wipe it down with a damp cloth to remove any dirt or debris.
- Use a pumpkin carving kit or a small serrated knife for more precise cuts.
- When carving the eyes, nose, and mouth, try to make the cuts slightly angled to create depth and dimension.
- If you make a mistake, don’t worry! You can always patch it up with a toothpick or small piece of pumpkin.
Carving a pumpkin can be a bit messy, so make sure to cover your work area with newspaper or a plastic tablecloth to make cleanup easier. Once you’ve finished carving, don’t forget to light up your creation with a battery-operated tea light or small LED light to complete the spooky effect.
| Carving Tips | Level of Difficulty |
|---|---|
| Create a simple face with triangle eyes and a toothy grin | Easy |
| Carve a more intricate design like a haunted house or a spooky scene | Intermediate |
| Challenge yourself with a complex design of your favorite Halloween character | Advanced |
Pumpkin Carving Ideas
Pumpkin carving is a beloved tradition, especially during the Halloween season, where people transform pumpkins into spooky or creative works of art. There are endless possibilities for pumpkin carving ideas, ranging from traditional jack-o’-lantern faces to intricate designs.
One popular idea is to create a classic jack-o’-lantern with a happy or scary expression. You can also carve patterns such as stars, moons, or bats for a festive look. For a more creative approach, consider carving your pumpkin to look like a popular character, animal, or even a scene from a movie or book.
If you’re feeling adventurous, try a 3D carving technique to give your pumpkin a unique and eye-catching appearance. This can involve carving different layers of the pumpkin to create depth and dimension.
To make your pumpkin carving stand out, consider using stencils or templates to guide your design. You can find a wide range of free or printable templates online, making it easy to create intricate designs even if you’re not a skilled artist.
Overall, pumpkin carving is a fun and creative activity that allows you to showcase your artistic skills and add a festive touch to your Halloween decorations.
Conclusion
Carving a pumpkin is a delightful and fulfilling activity that provides endless opportunities for creativity. By following these step-by-step instructions and making use of the valuable tips and ideas shared, you can easily carve a stunning pumpkin for Halloween. Remember to prioritize safety and have a blast throughout the process. Happy carving!
Whether you’re a seasoned carver or an amateur, these pumpkin carving tutorials and techniques will guide you through the entire process. From selecting the perfect pumpkin to preparing it for carving, you’ll be equipped with the knowledge necessary to create a masterpiece.
Explore various pumpkin carving stencils and ideas to add a unique touch to your design. Consider carving your pumpkin from the bottom or incorporating household objects like cookie cutters to create extraordinary shapes and patterns.
As Halloween approaches, immerse yourself in the joy of pumpkin carving. With these pumpkin carving tips, you’ll be able to impress your friends and neighbors with your artistic talents. So, grab your tools, unleash your imagination, and carve the pumpkin of your dreams!