Drawing flowers can seem daunting, but with our step-by-step tutorial, even beginners can create stunning floral artwork. In this guide, we will explore the basics of drawing flowers, providing you with the skills and techniques to create beautiful floral illustrations. So, grab your pencil and let’s get started!
The Must-Haves to Draw a Flower
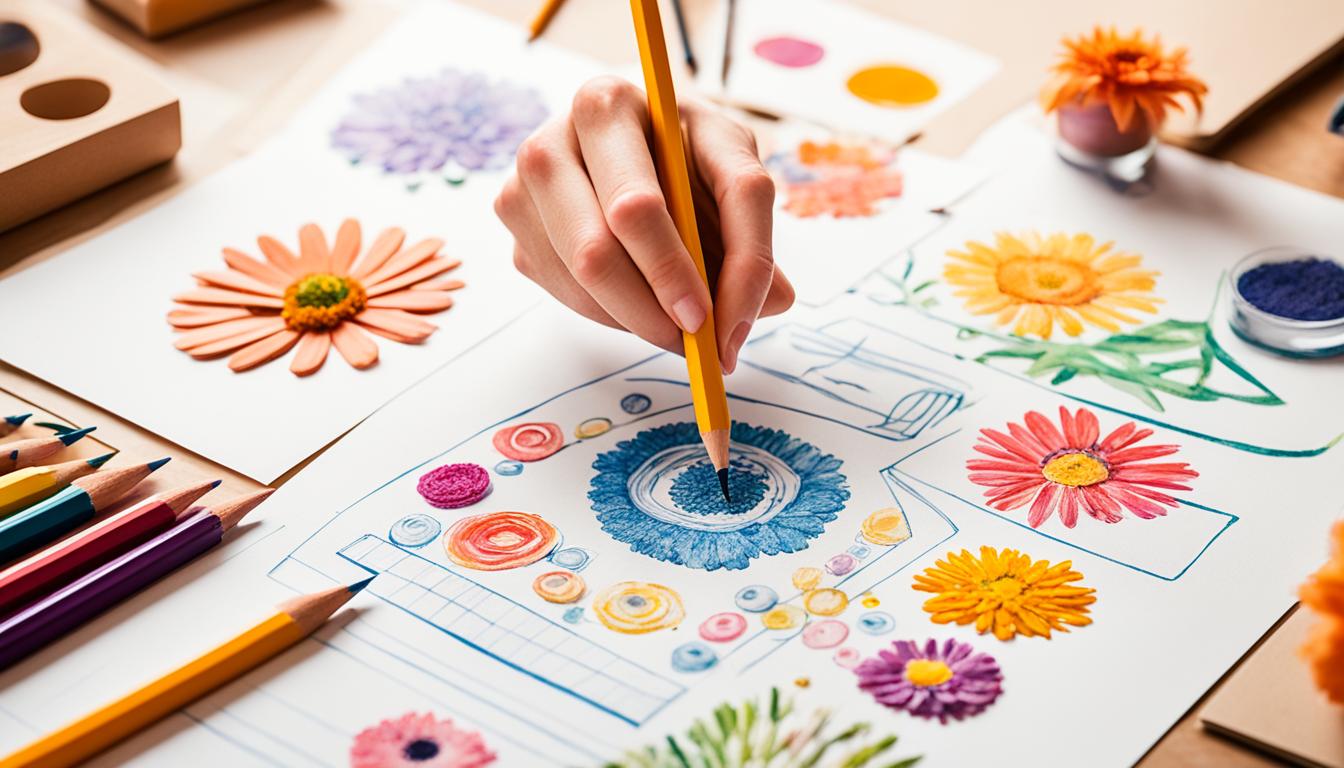
Before you begin your flower drawing journey, it’s important to gather the necessary supplies. You will need a pencil, eraser, sharpener, and colored pencils (optional) for adding a splash of color to your drawings. Additionally, having good quality drawing paper will ensure that your artwork turns out the best it can be. Now that you have your supplies ready, let’s move on to the next step.
Tips for Flower Sketching
- Start with light, gentle strokes to create the basic outlines of your flower.
- Observe real flowers or reference images to capture the unique shapes and details of different flower species.
- Experiment with different pencil techniques, such as cross-hatching or stippling, to add texture and depth to your drawing.
- Practice sketching flowers from different angles to develop your understanding of their three-dimensional form.
Floral Drawing Techniques
- Begin by sketching the basic shape of the flower, focusing on its overall form and proportion.
- Add in the individual petals, taking care to vary their shapes and sizes for a more natural appearance.
- Refine the details of the flower, such as the center, stamens, and any intricate patterns or markings.
- Pay attention to light and shadow, carefully shading areas that are in shadow while leaving highlights untouched.
By following these flower sketching tips and floral drawing techniques, you’ll be able to create beautiful flower illustrations step by step. With practice and patience, you’ll develop your own unique style and create stunning floral artwork.
How to Draw a Flower?
Step 1: The Basic Shape – The Heart of Your Flower
Every flower drawing starts with a basic shape. Begin by drawing a soft circle or oval in the centre of your paper, representing the core of the flower. From there, add rough outlines of petals around the core. Remember, at this stage, the focus is on the overall shape of the flower rather than the exact details. This basic shape will serve as the foundation for your drawing.
If you’re drawing a flower for kids, keep the shape simple and easy to replicate. For those aiming for a more realistic approach, pay attention to the natural curves and proportions of the flower’s core and petals. And if you want to create a beautiful flower with intricate detailing, you can start with a more elaborate and precisely shaped basic shape.
Whether you’re drawing a daisy, a rose, a sunflower, or any other flower, mastering the basic shape is the first step towards creating a captivating floral masterpiece.

Step 2: Crafting the Petals – The Soul of Your Flower
Now that you have the basic shape of the flower, it’s time to give life to the petals. Starting from the central circle, shape each petal with care. Petals can resemble teardrops or hearts, but don’t worry about making them perfect. Remember that nature is imperfect, and the quirks of each petal will add to the authenticity of your drawing.
After drawing one petal, move on to the next, maintaining the roundness of the flower. Keep refining until your petals look just right. Take your time and observe the flow and shape of each petal, making adjustments as needed. Remember, practice makes perfect, so don’t be discouraged if your first attempts aren’t exactly what you envisioned.

As you progress, you’ll develop your own unique style and technique for drawing petals. Experiment with different shapes, sizes, and angles to create diverse and captivating floral art. The beauty of drawing flowers is that there are endless possibilities, allowing you to unleash your creativity and imagination.
To bring your flower to life, consider adding dimension and texture. You can achieve this by adding subtle curves and lines to the petals, giving them a more realistic appearance. Don’t be afraid to add details like lines, dots, or subtle shading to enhance the depth and intricacy of your flower.
By focusing on the details while also embracing imperfections, you’ll create exquisite floral illustrations that capture the essence and soul of each flower. Whether you’re a beginner or an experienced artist, the process of crafting the petals will undoubtedly awaken your artistic spirit.
Step 3: The Stem and Leaves – The Support System of Your Flower
With the petals in place, it’s time to draw the stem and leaves. Adding a stem and leaves to your flower will bring it to life and complete the overall composition. Follow these simple steps:
1. Drawing the Stem
Start by drawing a long, slightly curved line extending downwards from the base of your flower. The stem should be thin and have natural curves to give it a more realistic look. Feel free to adjust the length and curve based on your artistic vision.
2. Creating the Leaves
The leaves can be designed in various shapes and sizes depending on the type of flower you are drawing. For a beginner-friendly approach, you can draw teardrop-shaped or elliptical leaves. Place them along the stem at different intervals. Remember to give the leaves a slight curve to add depth and realism.
3. Adding Veins to the Leaves
To make the leaves appear more lifelike, you can add veins. Veins are thin lines that run through the surface of the leaf, mimicking the natural patterns found in real leaves. You can draw these veins using thin, lightly curved lines spreading out from the central midrib of the leaf.
Remember, the number and arrangement of leaves can vary depending on the type of flower you are drawing. Some flowers may have a single leaf while others may have multiple leaves arranged in different patterns.
Once you have perfected the stem and leaves, you are one step closer to creating a beautiful and realistic flower illustration.
Now that you have a solid foundation for your flower, it’s time to move on to the next step – adding the intricate details and shading that will truly bring your flower to life.
Step 4: Details and Shading – Bringing Your Flower to Life
Now that you have the basic structure of the flower, it’s time to add details and shading to bring it to life. One of the key elements to make your flower drawing realistic is to create texture in the petals. You can achieve this by drawing lines that follow the contours of each petal. These lines add depth and dimension to your artwork, enhancing the overall appearance of the flower.
Another technique to add detail is by incorporating small specks or dots on the petals. These tiny marks simulate the natural patterns and imperfections found in real flowers, making your drawing more authentic and visually appealing. Don’t be afraid to experiment with different dot sizes and densities to find the effect that works best for your flower.
When it comes to shading, consider the direction of the light source in your composition. Shade the areas of the petals that are farther away from the light to create depth and volume. Imagine where the shadows would naturally fall based on the position of the light, and gradually darken those areas. This technique helps create a three-dimensional illusion, making your flower appear more lifelike.
In contrast, add highlights to the areas of the petals that catch the light. These highlights create a sense of luminosity and add a touch of realism to your drawing. Use a lighter shade of your base color to gently blend into the highlights, creating a smooth transition from light to shadow.
To achieve a more realistic representation of your flower, take your time with this step. Pay attention to the intricate details and nuances that make each petal unique. Study the reference image or observe real flowers to understand how light interacts with their surfaces. Remember, practice makes perfect, so keep experimenting with different techniques and approaches until you achieve the desired level of realism in your floral artwork.
Ready to bring your flower drawing to the next level? Let’s explore the final tweaks and polishing in the next section!

Step 5: Final Tweaks and Polishing
In the final step of drawing a flower, it’s time to add those finishing touches that will make your artwork truly shine. This is the stage where you can make any necessary adjustments and refine your drawing to perfection. Here are some key steps to consider:
Intensify shading for depth
To add depth and dimension to your flower, you can intensify the shading in certain areas. Use your pencil to darken the shadows and create contrast. Pay attention to the light source and shade accordingly, ensuring that the darker areas are farther away from the light. This technique will give your flower a more realistic and three-dimensional look.
Erase stray marks
While drawing, it’s common to have some stray marks or smudges. Use your eraser to clean up any unwanted lines or marks that may detract from your drawing. Taking the time to remove these imperfections will result in a cleaner and more polished final piece.
Highlight with a lighter-colored pencil
Adding highlights to your flower can bring it to life by emphasizing certain areas. Take a lighter-colored pencil and gently apply it to select portions of your drawing that catch the light. This technique will give your flower a subtle glow and enhance its overall beauty.
Step back and evaluate
Once you’ve made the final tweaks and adjustments, take a step back and observe your artwork from a distance. This will give you a fresh perspective and allow you to identify any areas that may need further attention. Consider the overall composition, proportions, and balance of your drawing to ensure it meets your desired vision.
Remember, art is subjective, and your drawing is a reflection of your unique style and interpretation of the flower. Embrace any imperfections and be proud of the masterpiece you’ve created!

Conclusion
Drawing flowers is a captivating and rewarding artistic pursuit that allows you to create stunning floral illustrations. Through this flower drawing tutorial, we have explored the step-by-step process of bringing a flower to life on paper. With the right techniques and practice, anyone can learn how to draw a flower, regardless of their artistic experience.
Remember that your artistic journey should be a joyous one. Embrace imperfections and unique details as they contribute to the character of your artwork. Allow your creativity to flow freely as you capture the essence of each flower you draw.
So, grab your pencil, let your imagination soar, and embark on the journey of creating artistic flower illustrations. By combining your newfound knowledge with passion and dedication, you will soon be able to create breathtaking florals that showcase your unique artistic style. Start today and bring the beauty of flowers to life through your art!
FAQs
Can anyone learn how to draw a flower?
Yes, with the right techniques and practice, anyone can learn how to draw a flower.
How do I create the basic shape of a flower?
Start by drawing a soft circle or oval in the center of your paper to represent the core of the flower. Then add rough outlines of petals around the core.
What should I do in the final step of drawing a flower?
Make any necessary adjustments and add finishing touches to your drawing. This could involve intensifying shading, erasing stray marks, or highlighting certain areas. Step back and assess your artwork from a distance for any further refinements.
Are imperfections okay in my flower drawing?
Yes, embrace imperfections as they add character to your artwork and contribute to your unique style and interpretation of the flower.
Is drawing flowers a good way to explore artistic abilities?
Yes, drawing flowers is a wonderful way to explore your artistic abilities and create beautiful illustrations.