Pom-poms are a fun and versatile craft that can add a pop of color and texture to various projects. You can easily make your own pom-poms without any special tools or supplies. Whether you want to embellish a knitted hat, create festive decorations, or explore your creativity, this DIY guide will walk you through the steps of making pom-poms using different techniques. Get ready to have some crafting fun and let your imagination soar!
In this section, we will cover the basics of pom-pom making and provide you with step-by-step instructions to create your own fluffy pom-poms. Whether you’re a beginner or an experienced crafter, these DIY pom-pom techniques are simple to follow and will enable you to unleash your creativity.
So, let’s dive into the world of pom-pom making and discover all the exciting possibilities!
How to Make a Pom Pom?
Making Pom-Poms with Cardboard
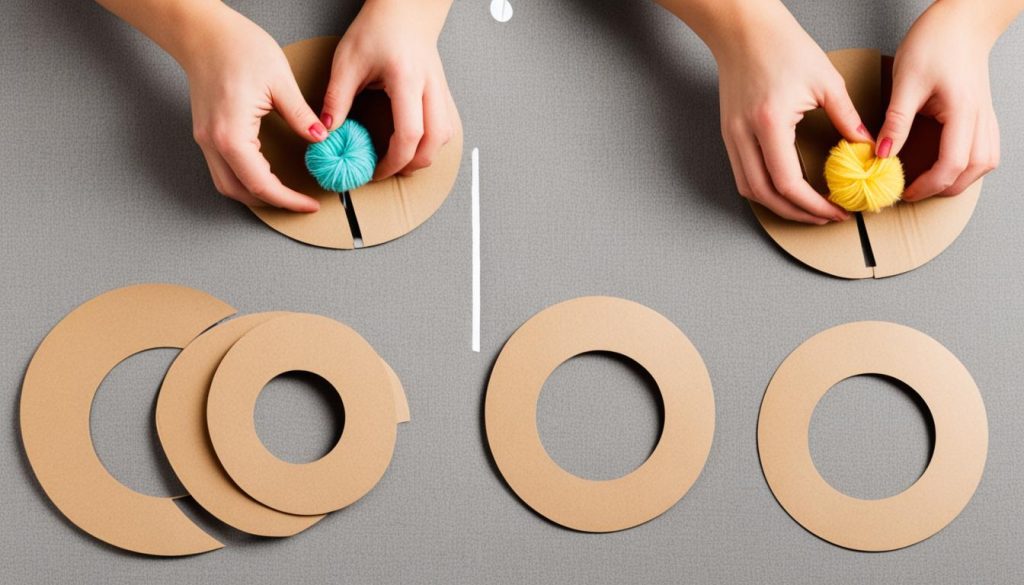
One of the simplest ways to make pom-poms is with cardboard. All you need is a piece of cardboard, circular items to trace (such as glass or lids), a pen, and scissors. By cutting out rounds and creating a small hole in each one, you can make your own pom-pom template. Then, wrap yarn around the cardboard ring, cut the edges, tie the yarn, remove the cardboard, and trim the yarn to create a fluffy pom-pom. This method allows you to customize the size and color of your pom-pom and is perfect for beginners.
Here are the steps to create a pom-pom with cardboard:
- Find a piece of cardboard and gather circular items to trace, such as glass or lids.
- Trace the circles onto the cardboard and cut them out.
- Create a small hole in the center of each cardboard round.
- Wrap the yarn around the cardboard rings, making sure to cover the entire surface.
- Once you are satisfied with the thickness, cut the yarn around the edges of the cardboard.
- Insert a separate piece of yarn between the two cardboard rounds and tie it tightly in the middle.
- Remove the cardboard rings by sliding them off gently.
- Fluff up the pom-pom and trim any excess yarn to give it a clean and uniform shape.
With just a few simple steps, you can create your own customized pom-poms using cardboard and by knowing this method it can also help you to make crochet. The possibilities for size, color, and pattern are endless, allowing you to add a touch of homemade charm to your crafts and decorations.

Making Pom-Poms with a Fork
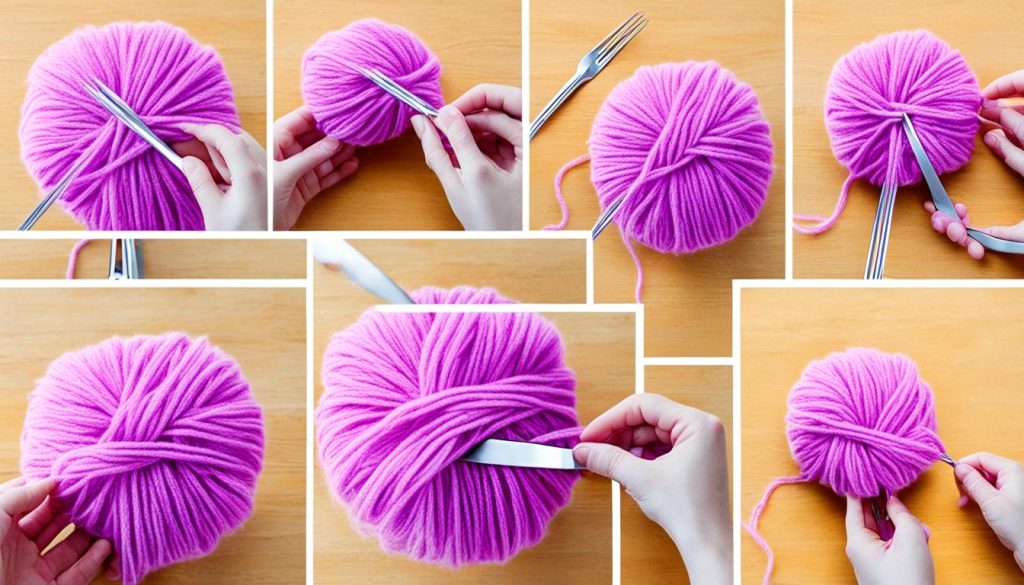
If you don’t have cardboard on hand, you can make a pom-pom using a regular dinner fork. Simply wrap yarn around the fork, tie it off, cut through the loops, and fluff up the pom-pom. This method is quick and easy, and you can experiment with different yarn colors to create unique pom-poms. It’s a great option for small pom-poms or for crafting with kids.
Step-by-Step Guide: How to Make a Pom-Pom with a Fork
- Choose a fork. A regular dinner fork works best.
- Take your desired yarn color and wrap it around the fork tines. The more times you wrap the yarn, the fuller your pom-pom will be.
- Once you have wrapped enough yarn, tie a separate piece of yarn tightly around the middle of the fork. This will hold all the yarn in place.
- With a pair of sharp scissors, cut through the loops on both sides of the fork. Be careful not to cut the tied yarn in the middle.
- Fluff up the cut yarn to create a round and fluffy pom-pom.
Using a fork to make pom-poms is a great alternative method if you don’t have cardboard templates. It’s simple, requires minimal materials, and yields adorable results. Plus, it’s a fantastic activity to enjoy with children, allowing them to explore their creativity and make pom-poms with their own hands.

Making Pom-Poms with Tissue Paper
If you’re looking for a creative way to make pom-poms, why not try using tissue paper? This technique allows you to create fluffy and decorative pom-poms, perfect for special occasions like Christmas or parties. Here’s how you can make them:
- Start by stacking eight sheets of tissue paper on top of each other.
- Fold the tissue paper in an accordion-fold pattern, making sure the folds are approximately 1 inch wide.
- Once the tissue paper is fully folded, tie the middle tightly with fishing line, wire, or thread. This will secure the layers together.
- Next, gently open up the layers of tissue paper, one by one, fanning them out in all directions. This will create the fluffy pom-pom shape.
- Finally, fluff up the tissue paper layers and adjust them to your desired shape and fullness.
This technique allows you to experiment with different colours and sizes, giving you the freedom to create unique pom-pom designs. The lightweight and delicate nature of tissue paper pom-poms adds an elegant touch to any decoration or craft project.
So, whether you want to add some festive flair to your Christmas tree or create eye-catching party decorations, tissue paper pom-poms are a versatile and fun option.

Tips for Making Pom-Poms
When making pom-poms, it’s important to keep a few tips in mind. Follow these best practices to ensure your pom-poms turn out beautifully:
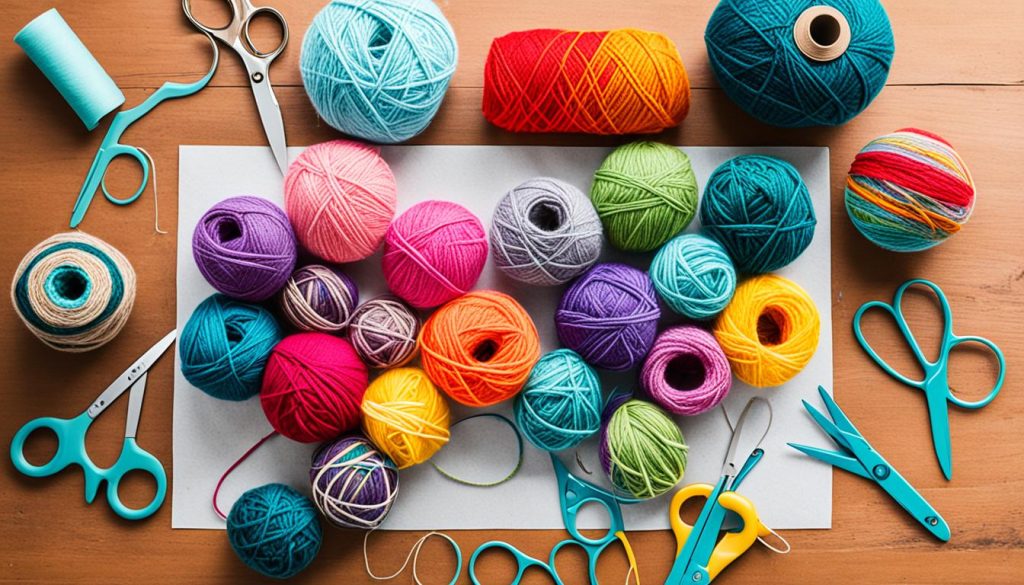
- Choose the right yarn: Opt for smooth silk yarn, as it works best for making pom-poms. The smooth texture allows the yarn to wrap tightly and evenly, resulting in a full and fluffy pom-pom.
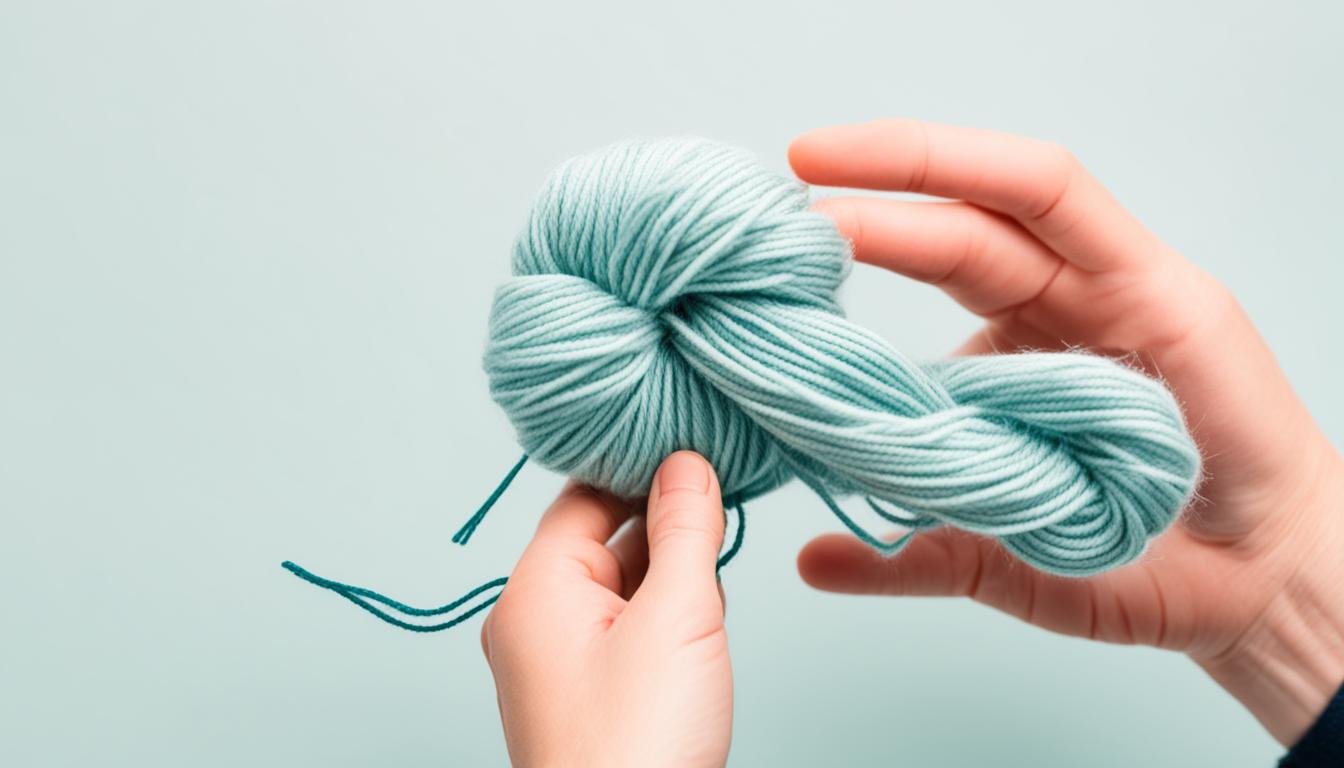
- Wrap the yarn tightly: When wrapping the yarn around your pom-pom template, make sure to do it tightly and evenly. This will ensure that your pom-pom is dense and round, rather than loose and shapeless.
- Use sharp scissors: Use a pair of sharp scissors to cut the yarn and trim the pom-pom. This will give you clean and precise cuts, allowing you to shape the pom-pom to your desired look.
- Compare sizes: If you’re making multiple pom-poms for a project, it’s important to compare their sizes. This will ensure that all the pom-poms are uniform and consistent in size, giving your project a polished and professional finish.
If you’re new to pom-pom making or simply want a convenient option, consider using a pom-pom craft kit. These kits provide you with all the necessary materials and instructions to create stunning pom-poms without the hassle of gathering individual supplies. Explore the variety of available pom-pom craft kits to find the one that suits your needs and preferences.

Creative Uses for Pom-Poms
Pom-poms have endless creative possibilities. You can use them to make cheerleader pom-poms, embellish hats, scarves, or blankets, create cute Easter bunny tails, or even sell them as craft products. Let your imagination run wild and explore different ways to incorporate pom-poms into your crafts or DIY projects. They can add a playful and festive touch to any design.
Pom-Pom Ideas to Sell
If you’re looking to turn your pom-pom making skills into a profitable venture, here are some ideas to get you started:
- Create pom-pom keychains with personalized initials or cute designs.
- Make pom-pom garlands that can be used as decorative accents for parties or events.
- Design pom-pom earrings or necklaces that add a pop of color to any outfit.
- Craft pom-pom bookmarks that make reading even more enjoyable.
These are just a few examples, but the possibilities are endless. Experiment with different colours, sizes, and combinations to create unique pom-pom products that cater to various markets. Whether you sell them online or at local markets and craft fairs, pom-poms are sure to capture the eye and bring joy to your customers.
| Product | Description |
|---|---|
| Pom-Pom Keychains | Personalized keychains featuring vibrant pom-poms and initials or designs. Perfect as gifts or fashion accessories. |
| Pom-Pom Garlands | Handcrafted garlands made of colourful pom-poms. Ideal for decorating parties, weddings, or home interiors. |
| Pom-Pom Earrings | Stylish earrings adorned with fluffy pom-poms in various colours and patterns. A trendy accessory for all occasions. |
| Pom-Pom Bookmarks | Delightful bookmarks featuring playful pom-poms. Enhance your reading experience with a touch of whimsy. |
Conclusion
Making pom-poms is a delightful and creatively rewarding craft that allows you to infuse your projects with a personal touch. Whether you opt for cardboard, a fork, or tissue paper, the process is straightforward and enjoyable. Utilizing the tips and techniques outlined in this DIY guide, you’ll be able to fashion exquisite and fluffy pom-poms suitable for a myriad of applications.
As you embark on your pom-pom crafting journey, remember to select the ideal yarn for your project, meticulously wrap it to ensure a full and rounded pom-pom, and employ sharp scissors to achieve the desired shape. It’s also worth noting that if you’re undertaking a venture that necessitates multiple pom-poms, take the time to compare their sizes to attain uniformity. If you’re new to pom-pom making, consider acquiring a pom-pom craft kit that includes comprehensive instructions along with all the essential materials.
Let your creativity soar as you explore the endless possibilities of pom-pom integration. From crafting cheerleader pom-poms to adorning hats, scarves, and blankets, even creating adorable Easter bunny tails, these colorful and playful accessories are sure to enhance any design. So gather your materials, unlock your imagination, and dive into the joyful world of pom-pom creation. Happy crafting!

