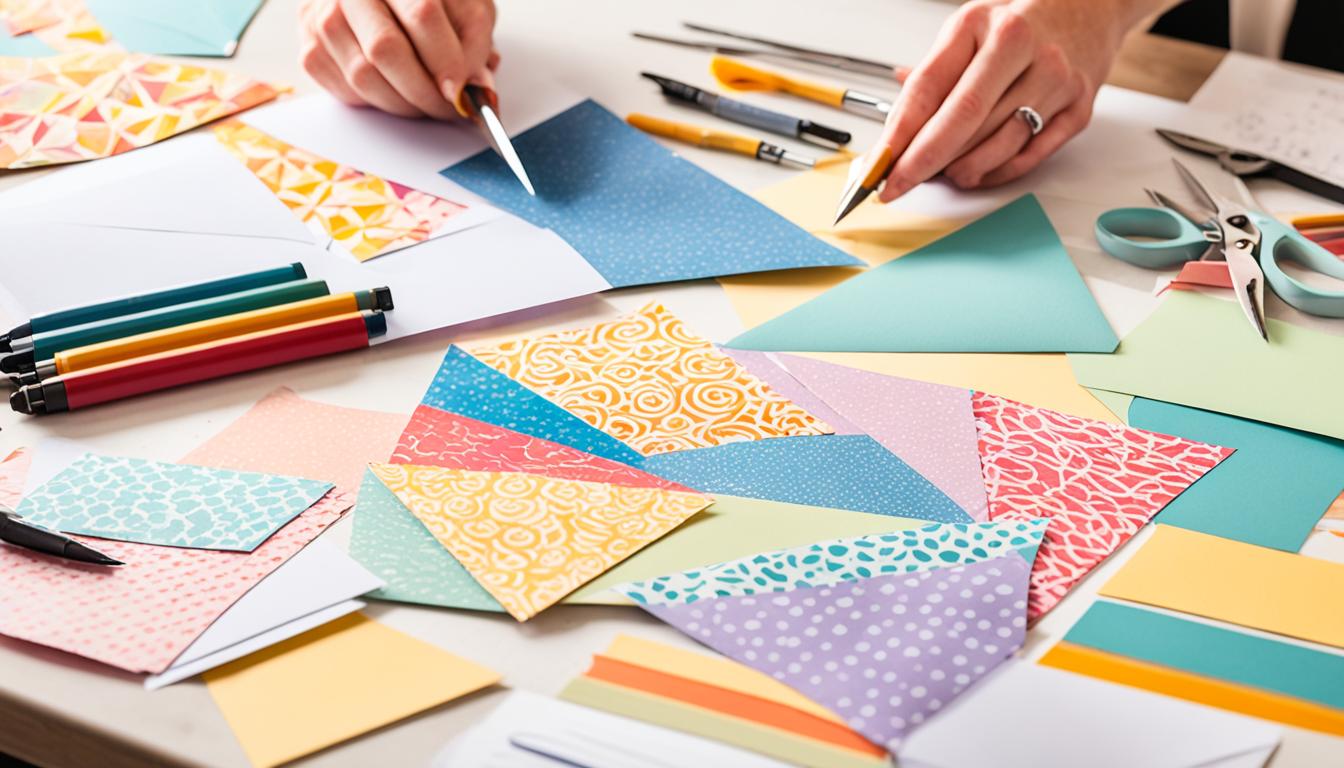
Welcome to our DIY guide where we will teach you how to make an envelope from scratch. Whether you want to add a personal touch to your correspondence or simply enjoy crafting, envelope making is a creative and fulfilling activity. In this article, we will provide you with a step-by-step tutorial on envelope crafting, so you can create custom envelopes for any occasion.
Are you ready to dive into the world of envelope crafting? Let’s begin by gathering the necessary materials and tools for the project. In the next section, we’ll provide you with a detailed list and guide you through the setup process.
How to Make an Envelope?
Gathering Materials and Tools
Before you start making your envelope, you’ll need to gather the necessary materials and tools. In this section, we’ll provide you with a list of items you’ll need and guide you through the step-by-step process of preparing your work area.
Materials
- Decorative paper or cardstock
- Scissors or paper trimmer
- Bone folder or scoring tool
- Ruler
- Pencil
- Glue or double-sided tape
- Decorative embellishments (optional)
Tools
Now that you have all the necessary materials and tools, let’s move on to the next section and choose the right envelope size and pattern for your project.
Choosing the Right Envelope Size and Pattern
Now that you have gathered all your materials, it’s time to consider the size and pattern for your handmade envelope. The size will depend on the type of item you plan to send, whether it’s a small note or a larger card. And the pattern will give your envelope a unique and personalized touch.
When it comes to envelope sizes, there are various options available. Here are some common envelope sizes along with their dimensions:
| Envelope Size | Dimensions (in inches) |
|---|---|
| C6 | 4.5 x 6.4 |
| DL | 4.3 x 8.7 |
| Square | 5.8 x 5.8 |
Once you have chosen the desired size, it’s time to create your own envelope pattern. This will allow you to customize the shape and style of your envelope. Here’s a simple step-by-step guide to creating an envelope pattern:
- Place a piece of paper on a flat surface.
- Take the envelope that matches your desired size and place it on the paper.
- Trace around the envelope to create an outline.
- Remove the envelope and use a ruler to extend the outline, adding flaps and crease lines.
- Cut out the pattern along the outlined shape.
By creating your own envelope pattern, you can experiment with different shapes and designs to suit your preferences. Feel free to let your creativity flow and add personalized touches to make your envelopes truly unique.
Now that you have chosen the right envelope size and created your own pattern, you are ready to move on to the next step: cutting and folding the envelope.
Cutting and Folding the Envelope
Now that you have your pattern, it’s time to get crafty and bring your envelope to life. Follow these step-by-step instructions to cut and fold the paper, transforming it into a beautiful and professional-looking custom envelope.
Step 1: Cutting the Paper
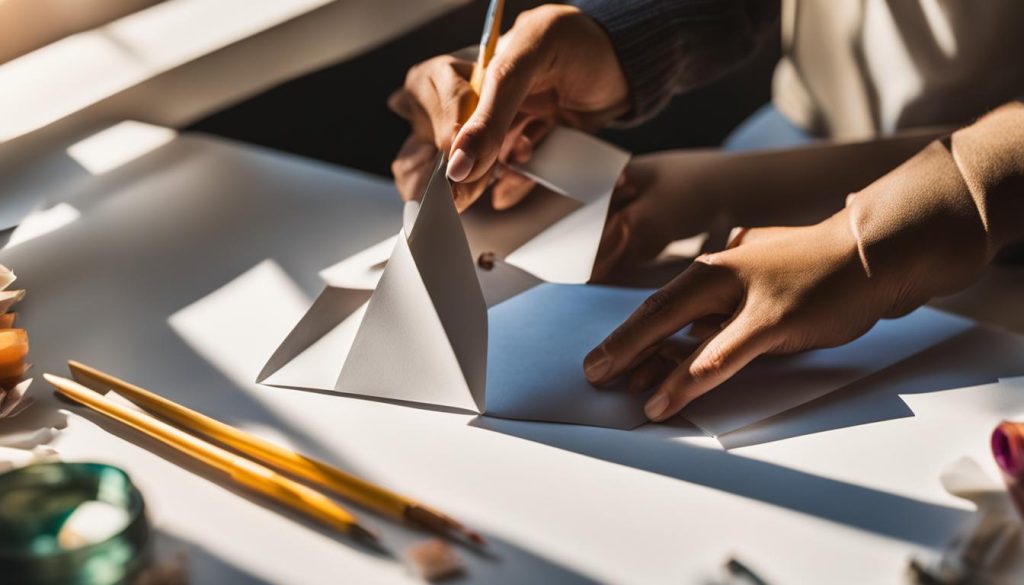
Place the envelope pattern on top of your paper and secure it with tape or weights. Using your scissors or craft knife, carefully cut along the outer edges of the pattern to create the main shape of your envelope. Take your time and make precise cuts for a clean finish.
Step 2: Folding the Envelope
With the main shape cut out, it’s time to fold the paper into the envelope structure. Use a ruler and bone folder to score along the designated fold lines on your pattern. This will make it easier to achieve crisp and straight folds.
Next, carefully fold the paper along the score lines, starting with the bottom flap and moving upwards. Ensure that each fold is secure and sharp, pressing firmly with the bone folder or your fingers.
Finally, gently crease the corners of the envelope to create neat and defined edges. This attention to detail will give your handmade envelope a polished look.
Step 3: Securing the Flaps
To complete your custom envelope, you need to secure the flaps. Apply a small amount of glue or double-sided tape to the side flaps, then fold them inward and press firmly to ensure they stick. For the top flap, you can either use a sticker or glue it shut, depending on your preference.
Creating the Perfect Handmade Envelope
With the cutting and folding process complete, you now have a beautiful handmade envelope ready to be used for your personal correspondence. Experiment with different types of paper, patterns, and embellishments to create custom envelopes that truly reflect your style and personality.
Adding Personal Touches and Decorations
Once you have crafted your personalised envelope, it’s time to add those unique touches and decorations that will make it truly special. Express your creativity and make your envelope stand out with these creative ideas and tips:
1. Handwritten Calligraphy
Add an elegant touch to your envelope by addressing it with beautiful handwritten calligraphy. Use a fine-pointed pen or a calligraphy brush to create stylish lettering. Choose a font style that complements the overall theme of your envelope and use ink colors that stand out against the envelope’s base shade.
2. Wax Seals
Evoke a sense of tradition and sophistication by sealing your envelope with a wax seal. Choose a wax color that complements your envelope design and melt it onto the envelope flap using a wax seal stamp. For an added personal touch, use a custom-designed stamp with your initials, monogram, or a symbol that represents you.
3. Embossed Designs
Create a tactile and visually appealing envelope by adding embossed designs. Use embossing powder and a heat embossing tool to create raised patterns or images on your envelope. Whether it’s a monogram, a floral motif, or a personalized message, embossed designs add a touch of luxury and elegance.
4. Decorative Stickers and Washi Tape
Infuse your envelope with color and playfulness by using decorative stickers and washi tape. Choose stickers that match the theme or occasion of your envelope, such as flowers for a springtime wedding invitation or hearts for a Valentine’s Day card. Washi tape, with its endless patterns and colors, can be used to create borders, add accents, or secure the envelope.
5. Hand-Drawn Artwork
Showcase your artistic skills by adding hand-drawn artwork to your envelope. Whether it’s a delicate illustration, a whimsical doodle, or a vibrant watercolor painting, your artwork will make your envelope truly one-of-a-kind. Use a waterproof pen or paint so that your artwork remains intact during mailing.
6. Personalized Stamps
Add a unique and personal touch to your envelope with custom-made stamps. Design your own stamp featuring a photo, a logo, or a special message. Personalized stamps not only make your envelope memorable but also reflect your personality and creativity.
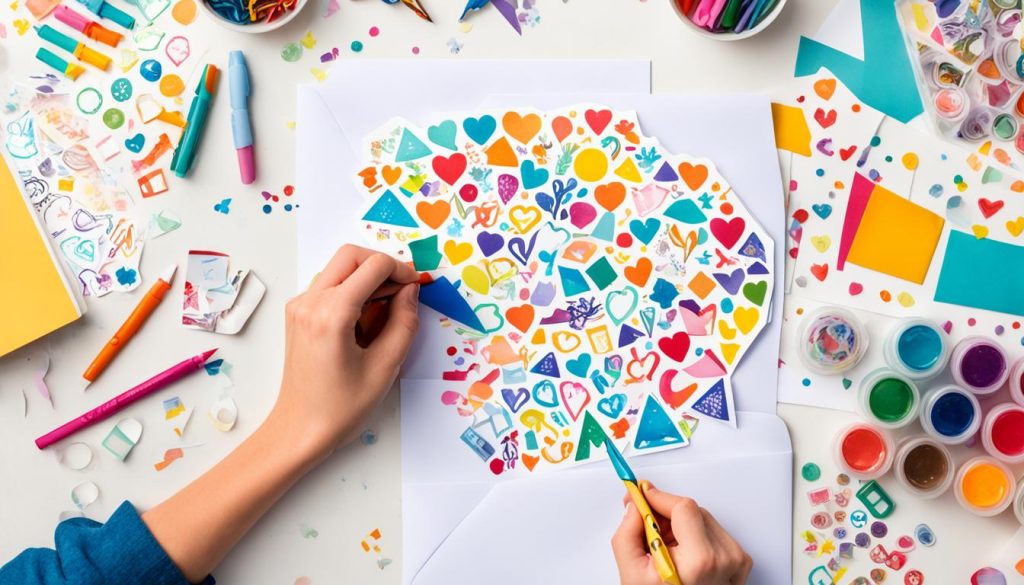
By incorporating these creative ideas and tips into your envelope-making process, you can elevate your DIY envelopes to a whole new level. Let your imagination run wild and create envelopes that truly reflect your style and personality.
| Benefits of Personalizing Your Envelope | Examples |
|---|---|
| Makes a memorable impression | Adding a wax seal with your initials |
| Reflects your creativity | Hand-drawn artwork on the envelope |
| Shows thoughtfulness and attention to detail | Handwritten calligraphy for the address |
| Creates a unique and personalized experience for the recipient | Using a stamp with a custom-designed logo |
Conclusion
In conclusion, making your own envelope is a rewarding and enjoyable activity that allows you to infuse a personal touch into your correspondence. By following our comprehensive DIY guide, you have now acquired the skills and knowledge to craft custom envelopes for any occasion.
Creating your own envelopes not only saves you money but also enables you to express your creativity and showcase your unique style. Whether it’s for heartfelt letters, invitations, or special occasions, the process of envelope crafting adds an extra layer of thoughtfulness to your messages.
From gathering the necessary materials and choosing the perfect size and pattern to cutting, folding, and adding personalized decorations, every step of the envelope-making journey offers an opportunity for self-expression and innovation. Embrace the joy of handmade envelopes and elevate your mail with a touch of uniqueness and charm.
Now that you possess the skills to create custom envelopes, start exploring different paper designs, colors, and textures. Let your imagination run wild as you experiment with various embellishments, such as stickers, stamps, or intricate cutouts, to make your envelopes truly one-of-a-kind. Enjoy the process of crafting beautiful envelopes that reflect your personality and make your recipients smile.

