Welcome to the wonderful world of breadmaking! There’s something truly magical about turning simple ingredients into a warm, delicious loaf that fills your kitchen with an irresistible aroma. Whether you’re a seasoned baker or just starting on your culinary journey, learning how to make bread is a skill that will bring joy to both you and those lucky enough to indulge in your creations.
In this blog post, we’ll take you through each step of the bread-making process, from gathering the essential ingredients to storing your homemade loaves for maximum freshness. So put on your apron, dust off those measuring cups, and let’s dive into the art of baking bread!
How to Make Bread?
Ingredients
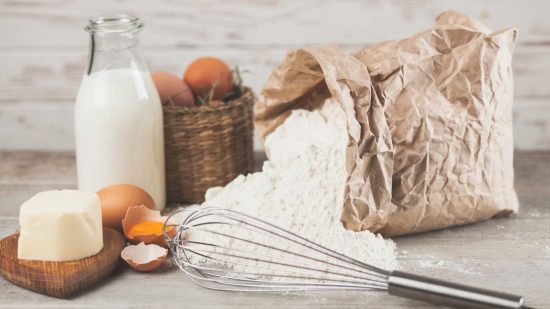
- Bread Flour or all-purpose flour
- Yeast
- Salt
- Water
- For added taste and richness, optional ingredients include sugar or honey, olive oil, or butter.
With these basic ingredients, you can start baking your homemade bread!
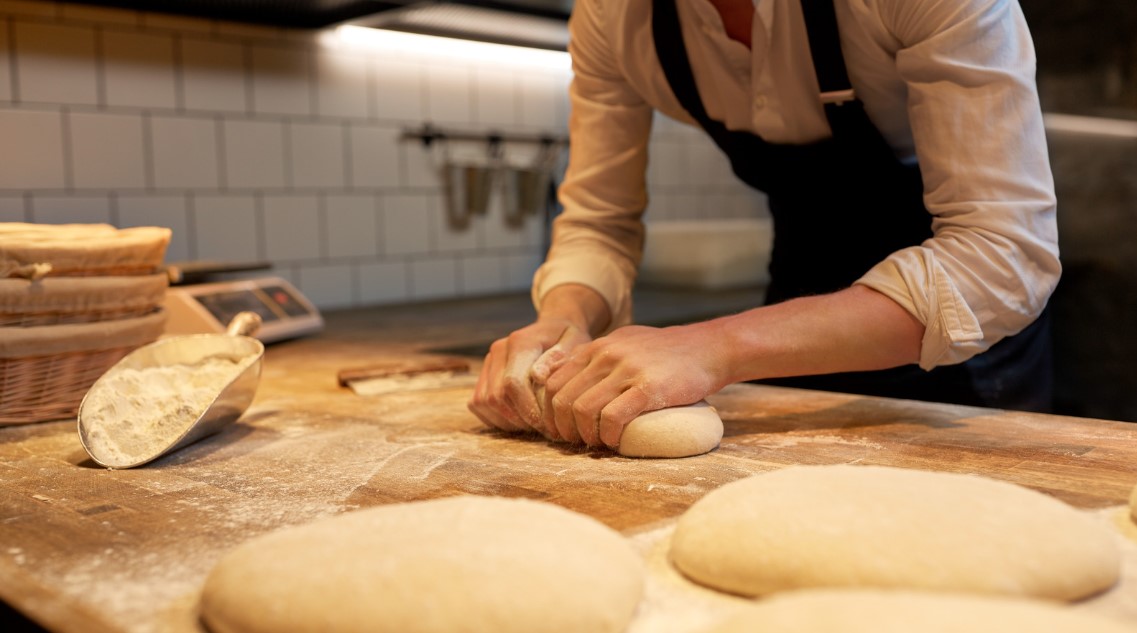
Mixing and Kneading
Mixing and kneading are crucial steps in bread-making. To start, gather your ingredients: flour, water, yeast, salt, and other flavourings. Mix the dry ingredients before slowly adding the liquid. Use your hands or a stand mixer to knead the dough until it is smooth and elastic. This process helps develop gluten strands that give bread its structure. Take time with this step to ensure a good rise and texture for your homemade bread!
How to Use Yeast?
Yeast is a key ingredient in bread making; it helps the dough rise and gives the bread a light, fluffy texture. To use yeast, activate it by dissolving it in warm water with a pinch of sugar. Let it sit for a few minutes until foamy. Then, add it to your dry ingredients and mix well. Yeast is essential for achieving that perfect loaf of homemade bread!
How to Knead Bread?
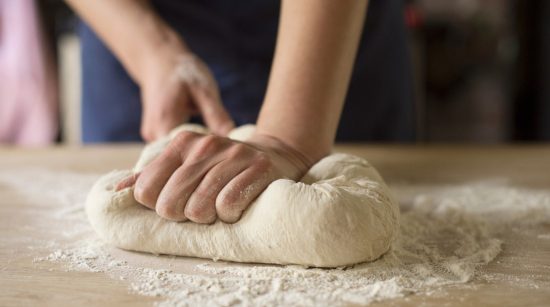
Kneading bread is a crucial step in the baking process. To properly knead your dough, lightly dust your work surface with flour. Then, use the heel of your hand to firmly push the dough away from you and fold it back over itself. Continue this motion for 10 minutes until the dough becomes smooth and elastic. Kneading helps develop gluten, which gives bread its structure and texture. So take your time with this step!
Proofing and Baking
Once your dough has been kneaded to perfection, it’s time for the proofing stage. This is where you let the dough rise and develop its flavours. Place the dough in a warm area, covered with a damp cloth, for about an hour or until it doubles in size.
After proofing, it’s time to bake your bread. Preheat your oven to the recommended temperature and carefully transfer the risen dough onto a baking sheet or loaf pan. Bake for the specified time, ensuring your bread turns golden brown and sounds hollow when tapped on the bottom.
Baking bread fills your home with an incredible aroma and brings immense satisfaction as you witness your hard work transform into a delicious homemade loaf. Get ready to savour every bite!
How to Proof Bread?
Proofing bread is an essential step in the baking process. After kneading, let the dough rest warmly until it doubles. This allows the yeast to ferment and release carbon dioxide, making the bread light and airy. Covering with a damp cloth or plastic wrap prevents drying out. A longer proofing time results in more flavour development!
How to Bake Bread?
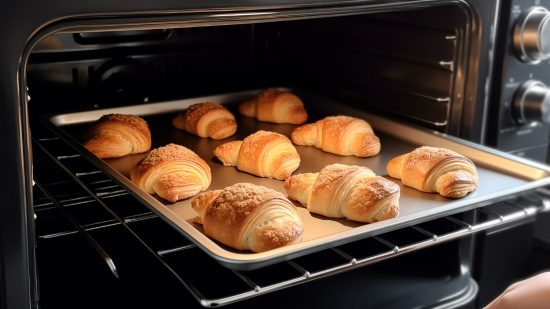
Baking bread is the final step in creating a delicious homemade loaf. Preheat your oven to the recommended temperature and place your dough in a greased bread pan. Bake for the specified time, checking for a golden brown crust and hollow sound when tapped on the bottom. Enjoy the wonderful aroma that fills your kitchen as you bake your bread from scratch!
Storing and Freezing
Once your homemade bread has cooled completely, it’s time to think about how to store it for future enjoyment. Store your bread in a cool, dry place in an airtight container or bag to keep it fresh. If you plan on freezing the bread for later use, wrap it tightly in plastic wrap or freezer bags before placing it in the freezer. Proper storage will ensure that your homemade bread stays delicious for days!
How to Store Homemade Bread?
Store your homemade bread in a cool, dry place, such as a bread box or pantry, to keep it fresh. Avoid storing it in the refrigerator, making the bread stale faster. If you won’t be able to consume all the bread within a few days, consider freezing it. Wrap the loaf tightly in plastic wrap or aluminium foil before placing it in a freezer bag. Frozen bread can be thawed at room temperature or reheated in an oven for that freshly baked taste!
Conclusion
In conclusion, making bread at home is not just a culinary endeavour; it’s a gratifying journey that allows you to savour the delight of freshly baked loaves. By mastering fundamental steps like ingredient preparation, kneading, and proofing, you can create bread that’s a testament to your culinary prowess. From the enticing aroma during baking to the joy of sharing your creations, homemade bread embodies a rewarding experience. So, roll up your sleeves, embrace the process, and let the warm loaves of goodness bring joy to your kitchen. Happy baking!