Welcome to our iPad screenshot guide! Are you wondering how to capture the contents of your iPad’s screen? Look no further – we’ve got you covered. In this tutorial, we will walk you through the simple steps on how to screenshot on iPad, whether you have the latest iPad Pro, iPad Air, or even the new iPad mini 6.
But first, let’s understand why you might want to take a screenshot. Whether it’s capturing an important moment, saving a funny conversation, or sharing useful information, screenshots are a great way to preserve and share what’s on your screen.
Now, let’s dive into the different methods of taking screenshots on your iPad. Whether you have an iPad with Face ID or Touch ID, we’ll guide you through the process step-by-step. We’ll also explore shortcuts and additional methods to make the process even easier and more efficient.
Ready to capture your screen? Let’s get started with section 1: Taking a Screenshot on iPad Models with Face ID.
How to Screenshot on iPad?
Taking a Screenshot on iPad Models with Face ID
If you have an iPad model with Face ID, capturing a screenshot is quick and easy. Follow these simple steps to take a screenshot on your iPad Pro or iPad Air:
- Press and release the top button and either volume button simultaneously. (iPad Pro and iPad Air)
- A thumbnail of the screenshot will appear in the lower-left corner of the screen.
- To view the screenshot, tap on the thumbnail. To dismiss it, swipe left.
- The screenshot is automatically saved to your photo library in the Photos app.
It’s that simple! Now you can effortlessly capture and save screenshots on your iPad.
Screenshot Shortcut on iPad Pro
If you own an iPad Pro with Face ID, using the screenshot shortcut can save you time and effort. The screenshot shortcut allows you to easily capture screenshots with just a few taps.
To activate the screenshot shortcut on iPad Pro:
- Go to Settings.
- Tap on Control Centre.
- Select Customize Controls.
- Under More Controls, find the Screenshot option and tap the green “+” icon to add it to your Control Centre.
Now, whenever you need to take a screenshot, simply access the Control Centre by swiping down from the top-right corner of the screen on your iPad Pro. Look for the Screenshot button and tap it to capture a screenshot instantly.
Using the screenshot shortcut feature on your iPad Pro can significantly enhance your productivity and streamline the screenshot capturing process.
| iPad Model | Screenshot Shortcut |
|---|---|
| iPad Pro | Access the Control Centre and tap on the Screenshot button. |
| iPad Air | Follow the standard method: press and release the top button and either volume button simultaneously. |
In addition to the screenshot shortcut, you can still use the traditional method mentioned earlier on your iPad Pro. Choose the method that suits your preferences and capture screenshots effortlessly.
Taking a Screenshot on iPad Models with Touch ID
When it comes to iPad models with Touch ID, capturing a screenshot is a breeze. Simply press and release the top button and the Home button simultaneously. This action will trigger the screenshot function, and a thumbnail of the captured image will appear on the screen.
Once the thumbnail appears, you have the option to tap it to view the screenshot or swipe left to dismiss it. By tapping on the thumbnail, the image will open in a larger size, allowing you to review it in detail.
It’s worth mentioning that all screenshots taken on iPad models with Touch ID are automatically saved to your photo library in the Photos app. This makes it convenient for you to access and share your captured images whenever you like.
Compatible iPad Models with Touch ID
If you’re unsure whether your iPad model has Touch ID, refer to the table below for a list of compatible devices:
| iPad Model | Touch ID |
|---|---|
| iPad Air (5th generation) | Yes |
| iPad mini 6 | Yes |
| iPad mini 5 | Yes |
As shown in the table, iPad Air (5th generation), iPad mini 6, and iPad mini 5 are some of the iPad models equipped with Touch ID, allowing you to capture screenshots with ease.
In the next section, we will explore how to capture full-page screenshots on your iPad, providing you with even more options for preserving and sharing the content you love.
Taking a Full-Page Screenshot on iPad
If you want to capture a full-page screenshot on your iPad, such as an entire webpage in Safari, you can do so by following these steps:
- On iPads with Face ID, quickly press and release the top button and either volume button simultaneously.
- On iPads with a Home button, quickly press and release the top button and the Home button at the same time.
- A thumbnail of the screenshot will appear, and you can tap it to view.
- Then, tap “Full Page” and choose to save the screenshot in your Photos library or as a PDF in the Files app.
By capturing the full-page screenshot, you can easily save and share entire webpages, documents, or any content that extends beyond the visible screen.

When taking a full-page screenshot, ensure that the entire content is captured, including any scrolling elements. This feature is especially handy when you want to preserve the layout, text, and images of a webpage for reference or offline reading.
Taking a Screenshot with Apple Pencil
If you use an Apple Pencil with your iPad, you can also take a screenshot using the drawing tool. Simply swipe up from the bottom corner of the iPad screen with the Apple Pencil to capture the image. The process is similar to taking a screenshot on iPads without a Home button. A thumbnail of the screenshot will appear, and you can tap it to view or swipe left to dismiss it. The screenshots are automatically saved to your photo library in the Photos app.
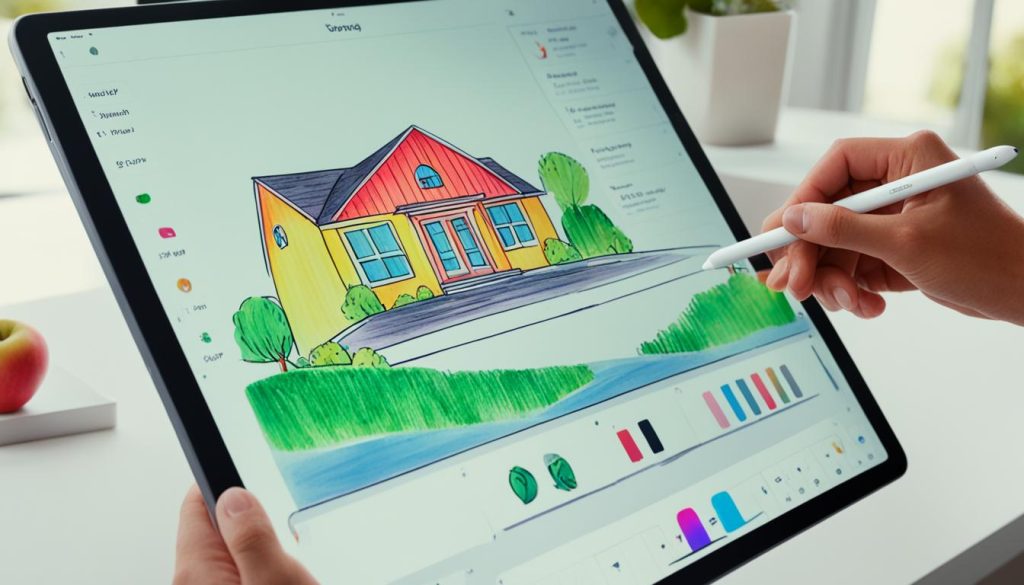
Apple Pencil Screenshot Shortcut Steps:
- Hold the Apple Pencil.
- Swipe up from the bottom corner of the screen using the Apple Pencil.
- Release the swipe to capture the screenshot.
- A thumbnail of the screenshot will appear, allowing you to view or dismiss it.
With the Apple Pencil, taking a screenshot on your iPad becomes even more convenient, especially when you want to capture drawings, sketches, or handwritten notes. Whether you use the Apple Pencil for creative work or note-taking, this method provides a seamless way to capture and save your digital creations.
| Advantages of Taking Screenshots with Apple Pencil |
|---|
| Easily capture hand-drawn diagrams, sketches, and artwork. |
| Record important handwritten notes for reference. |
| Effortlessly save annotations and highlights made with Apple Pencil. |
| Quickly share your handwritten or drawn creations with others. |
Other Methods to Take Screenshots on iPad
In addition to the previously mentioned methods, there are other ways to capture screenshots on your iPad. Whether you have a keyboard connected to your iPad or are using an iPad without a home button, there are convenient options available.
Using a Keyboard Shortcut
If you have a keyboard connected to your iPad, you can use a simple keyboard shortcut to capture a screenshot. Just press Command + Shift + 3 simultaneously, and the screenshot will be saved to your photo library in the Photos app. This method is quick and efficient, especially for users who frequently work with a keyboard.
Enabling Assistive Touch
If your iPad doesn’t have a home button, fret not, as Apple has provided a solution for you. With the Assistive Touch feature, you can easily capture screenshots. Simply go to the Accessibility settings and enable Assistive Touch. Once activated, a floating button will appear on your screen. By tapping on the Assistive Touch button, you can access the screenshot capture option.
Using the Back Tap Feature
iOS 14 introduced a new feature called Back Tap that allows you to perform various actions by tapping the back of your iPad. You can utilize this feature to take quick and convenient screenshots. By customizing the Back Tap settings, you can assign screenshot capture to a double or triple tap gesture on the back of your iPad. This provides a hands-free and effortless way to capture screenshots.
Utilizing these alternative methods, you can easily capture screenshots on your iPad, whether you have a keyboard connected, a device without a home button, or want to take advantage of the Back Tap feature introduced in iOS 14.
Conclusion
Taking screenshots on your iPad is an essential skill that can come in handy in various situations. Whether you want to capture a memorable moment, save important information, or share something interesting with others, knowing how to take screenshots on your iPad is a must.
Regardless of whether your iPad has Face ID or Touch ID, the process is straightforward and easy to learn. By pressing and releasing the necessary buttons simultaneously, you can capture a screenshot in an instant. The thumbnail that appears allows you to quickly access and view your screenshots.
But the screenshot capabilities of your iPad don’t end there. You can also capture full-page screenshots, perfect for preserving an entire webpage or document. Additionally, if you use an Apple Pencil with your iPad, you can easily take screenshots by swiping up from the bottom corner of the screen. And for those who prefer alternative methods, using a keyboard or enabling the Assistive Touch feature opens up even more possibilities.
With these various tips and tricks at your disposal, you now have the knowledge to become a screenshot pro on your iPad. So go ahead, explore the different methods and experiment with different scenarios. With each screenshot, you’ll discover new ways to make the most of your iPad’s powerful features.

