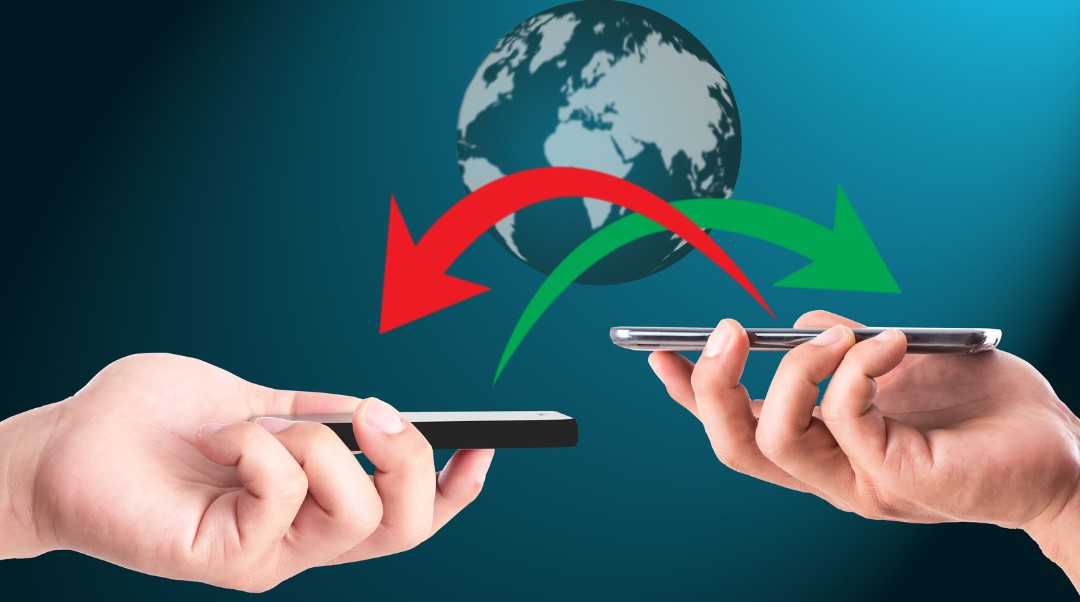
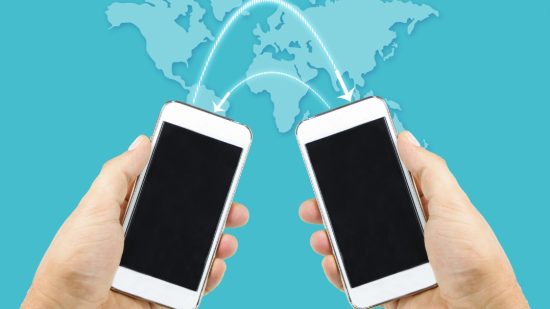
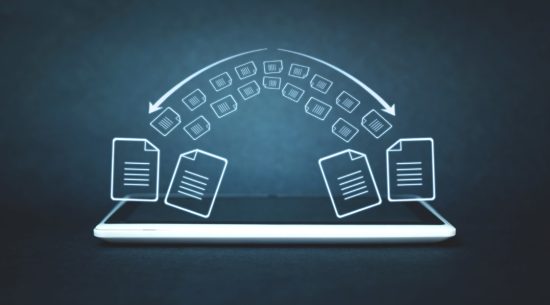
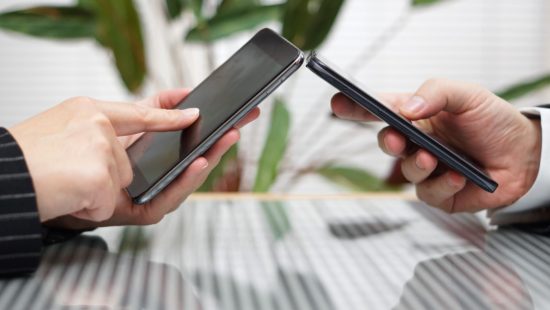
Transferring data between iPhones can be a daunting task, especially for those who are new to the world of Apple devices. However, with the right knowledge and tools, it can be a simple and seamless process. In this guide, we will walk you through the steps on how to transfer data from iPhone to iPhone quickly and efficiently. Whether you’re upgrading to a new device or need to transfer important data, this guide will help you navigate through the process with ease. So let’s get started!
Importance of Transferring Data Between iPhones
Transferring data between iPhones is of paramount importance for several reasons:
- Firstly, it allows individuals to seamlessly transition from an old iPhone to a new one, ensuring that all their valuable information, such as contacts, messages, photos, and apps, remains intact. This eliminates the need for manual data entry and time-consuming setup processes.
- Secondly, data transfer provides a convenient backup method, safeguarding precious memories and vital documents from potential loss or device failure.
- Additionally, transferring data enables effortless synchronization across multiple devices, fostering a seamless user experience and ensuring accessibility to important files on the go.
Whether it’s for personal or professional use, the ability to transfer data between iPhones plays a significant role in maintaining efficiency, organization, and peace of mind in our increasingly digital world.
Factors to Consider Before Transferring Data from iPhone to iPhone
Before transferring data from one iPhone to another, there are several factors worth considering to ensure a smooth and successful transfer.
- Firstly, it’s important to determine the method of transfer that best suits your needs. You can choose between iCloud, iTunes, and more, each offering its own set of advantages and limitations.
- Secondly, assess the available storage space on both devices to ensure that there is enough capacity to accommodate the transferred data.
- Additionally, consider the speed and reliability of your internet connection if using cloud-based methods, as a stable connection is crucial for the transfer process. It’s also important to back up your data beforehand to avoid any potential loss during the transfer.
- Lastly, take into account any compatibility issues between the two iPhones, such as different iOS versions, as this may require additional steps or considerations.
By carefully considering these factors, you can efficiently transfer data between iPhones while minimizing any potential challenges or hiccups along the way.
How to Transfer Data from iPhone to iPhone?
Method 1: Transferring Data from iPhone to iPhone Using iCloud

One of the easiest ways to transfer data from one iPhone to another is by using iCloud. This cloud-based service allows you to sync your data across multiple devices seamlessly. Here’s how you can do it:
Step 1: First, ensure that both iPhones are connected to a stable Wi-Fi network and have enough storage space available.
Step 2: On your old iPhone, go to Settings and tap on your Apple ID at the top of the screen. From there, select iCloud and make sure all the types of data you want to transfer are enabled for syncing.
Step 3: Next, on your new iPhone, turn it on and follow the setup instructions until you reach the Apps & Data screen. Choose “Restore from iCloud Backup” and sign in with your Apple ID.
Step 4: Select the most recent backup containing your desired data and wait for the restore process to complete.
Step 5: Once done, all your selected data will be transferred from your old iPhone to the new one using iCloud.
Remember that transferring large amounts of data may take some time, depending on your internet connection speed. By following these simple steps, you can effortlessly migrate all essential files like contacts, photos, messages, apps, and more from one device to another using iCloud.
Method 2: Transferring Data from iPhone to iPhone Using Quick Start
Quick Start is a fantastic option when it comes to quickly and effortlessly transferring data between iPhones. This method allows you to transfer your data wirelessly, eliminating the need for cables or complicated setup processes.
Step 1: Ensure both iPhones run iOS 11 or later.
Step 2: Keep them closed and select “Transfer from iPhone” on the new iPhone during setup.
Step 3: Follow on-screen instructions to establish a Wi-Fi and Bluetooth connection.
Step 4: Verify the unique code displayed on both devices.
Step 5: Choose data types to transfer, such as settings, apps, photos, etc.
Step 6: Larger files may take longer; ensure both iPhones are charged or plugged in.
Step 7: Enjoy a hassle-free transfer with Quick Start’s simplicity and convenience.
With its simplicity and convenience factor in mind, utilizing Quick Start is an excellent choice if you’re looking for a hassle-free way of transferring all your essential data from one iPhone to another seamlessly.
Method 3: Transferring Data from iPhone to iPhone Using iTunes
iTunes has long been a trusted tool for managing and syncing data on Apple devices. When it comes to transferring data from one iPhone to another, using iTunes can be an efficient method. Here’s how you can do it:
Step 1: Connect your old iPhone to your computer and open iTunes.
Step 2: Select your device in the iTunes interface and go to the “Summary” tab.
Step 3: Under the “Backups” section, choose “This computer” and click on “Back Up Now.” This will create a backup of all your data on your computer.
Step 4: Once the backup is complete, disconnect your old iPhone from the computer.
Step 5: Connect your new iPhone to the computer and select it in iTunes.
Step 6: In the Summary tab, click on “Restore Backup.”
Step 7: Choose the latest backup that you created for your old iPhone and click on “Restore.”
Step 8: Wait for the restore process to finish, and then disconnect your new iPhone from the computer.
By following these steps, you can easily transfer all your apps, contacts, messages, photos, music, and other important data from one iPhone to another using iTunes.
Method 4: Transferring Data from iPhone to iPhone Using Finder
If you’re a Mac user, transferring data from one iPhone to another can be done seamlessly using the Finder application. This method allows for a direct connection between the two devices, ensuring a speedy and reliable transfer process. To begin,
Step 1: Ensure both iPhones have the latest iOS version.
Step 2: Connect your old iPhone to your Mac using a Lightning cable and open Finder.
Step 3: Click on your old iPhone under “Locations” in the sidebar.
Step 4: Go to the General tab and select “Back Up Now” to create a backup on your Mac.
Step 5: Once the backup is done, disconnect the old iPhone and connect the new one.
Step 6: In Finder, choose your new iPhone and click “Restore Backup.”
Step 7: Select the backup file you just created to initiate the transfer.
Step 8: The Finder will copy over all apps, settings, messages, photos, and more to your new device.
Using Finder provides a straightforward way of transferring data between iPhones with minimal hassle. Give it a try if you prefer working directly through macOS rather than relying on cloud-based methods like iCloud or QuickStart!
Tips for Keeping Your Data Safe During the Transfer Process

When transferring data from one iPhone to another, it’s important to take precautions to ensure that your valuable information remains safe and secure throughout the process.
Here are some tips to help you keep your data protected:
- Prioritize a recent backup on iCloud or iTunes for safety.
- Use a secure Wi-Fi network to prevent unauthorized access.
- Enable it on both iPhones for added security.
- Ensure both devices have the latest Apple updates for enhanced protection.
- Utilize encryption features for sensitive files.
- Monitor and limit app permissions for minimized risks.
By following these tips, you can ensure that your data remains safe and secure while transferring it from one iPhone to another seamlessly without any compromises in privacy or integrity.
Final Thoughts
In conclusion, transferring data from one iPhone to another can seem like a daunting task, but with the right knowledge and tools, it can be a smooth and stress-free process. Whether you choose to use iCloud or iTunes, make sure to back up your data beforehand and follow the step-by-step instructions carefully.
Remember also to consider using third-party apps for specific types of data transfers. With these tips in mind, you’ll be able to seamlessly transfer all your important information and continue enjoying your new iPhone hassle-free.
FAQs – How to Transfer Data from iPhone to iPhone?
How long does it take to transfer data between iPhones?
The time it takes to transfer data between iPhones can vary depending on factors such as the amount of data being transferred, internet connection speed, and the method used for transfer. Generally, transferring data using iCloud or iTunes can take a few minutes to several hours, depending on the size of the data.
Can I transfer specific types of data, such as contacts or photos, selectively?
Yes, you can transfer specific types of data selectively. Methods like iCloud and iTunes allow you to choose which data categories, such as contacts, photos, messages, or apps, you want to transfer. This enables you to transfer only the specific types of data you need.
What should I do if I encounter errors during the data transfer process?
If you encounter errors during the data transfer process, there are a few troubleshooting steps to try. Make sure both iPhones are connected to a stable Wi-Fi network and have sufficient storage space. Restart both devices and ensure that you have the latest iOS version installed. If the issue persists, try using a different method for data transfer or contact Apple Support for further assistance.
Is it possible to transfer data from an Android phone to an iPhone?
Yes, it is possible to transfer data from an Android phone to an iPhone. Apple provides a separate app called “Move to iOS” on the Google Play Store that facilitates transferring contacts, messages, photos, videos, bookmarks, and more from an Android device to an iPhone during the initial setup process.
Are there any limitations or restrictions when transferring data between iPhones?
When transferring data between iPhones, there may be some limitations or restrictions to consider. These can include compatibility issues with older iPhone models, differences in iOS versions, or certain data being excluded from the transfer process, such as DRM-protected media files. It’s important to check the specific limitations of the chosen transfer method and ensure compatibility between the two iPhones before initiating the data transfer.
Learn how to easily transfer all of your data, including contacts, photos, and apps, from one iPhone to another with our step-by-step guide. Say goodbye to the hassle of manually transferring files and ensure a smooth transition between devices.
“Learn how to easily transfer all your data from one iPhone to another with our step-by-step guide. Say goodbye to tedious manual transfers and seamlessly move your photos, contacts, apps and more between iPhones in no time!”